Hey there! I'm a supplier of Electrostatic Mop Pads, and today I'm gonna share with you how you can make your own electrostatic mop pad. It's a pretty cool DIY project that can save you some bucks and give you a sense of accomplishment.
What You'll Need
First off, let's talk about the materials. You'll need a few basic things to get started. You'll need a piece of fabric. A good choice is microfiber fabric because it's absorbent and can hold an electrostatic charge well. You can find microfiber fabric at your local fabric store or online. You'll also need some conductive material. This could be something like aluminum foil or a conductive thread. You'll also need a pair of scissors to cut the fabric and some glue or thread to attach the conductive material.


Step 1: Cut the Fabric
The first step is to cut the fabric to the size you want. You can make your mop pad any size you like, but a common size is around 12 inches by 18 inches. Use your scissors to cut the fabric to the desired size. Make sure the edges are nice and straight.
Step 2: Add the Conductive Material
Next, it's time to add the conductive material. If you're using aluminum foil, you can cut it into strips and attach it to the fabric using glue. Make sure the strips are evenly spaced and cover a good portion of the fabric. If you're using conductive thread, you can sew it onto the fabric in a grid pattern. This will help to distribute the electrostatic charge evenly across the mop pad.
Step 3: Charge the Mop Pad
Once you've added the conductive material, it's time to charge the mop pad. You can do this by rubbing the mop pad against a piece of wool or another synthetic material. This will create an electrostatic charge on the mop pad. You can also use a static generator if you have one. Just follow the instructions on the generator to charge the mop pad.
Step 4: Test the Mop Pad
Now that your mop pad is charged, it's time to test it. Try using it to pick up some dust and debris on your floor. You should notice that the mop pad attracts the dust and debris like a magnet. If it doesn't work as well as you'd like, you can try charging the mop pad again or adjusting the amount of conductive material you've added.
Why Make Your Own Electrostatic Mop Pad?
Making your own electrostatic mop pad has a few advantages. First of all, it's a lot cheaper than buying a pre-made mop pad. You can save money by using materials you already have or by buying them in bulk. Second, you can customize your mop pad to fit your specific needs. You can choose the size, shape, and material of the mop pad to make it work best for you. Finally, making your own mop pad is a fun and rewarding DIY project. It's a great way to use your creativity and learn new skills.
Our Products
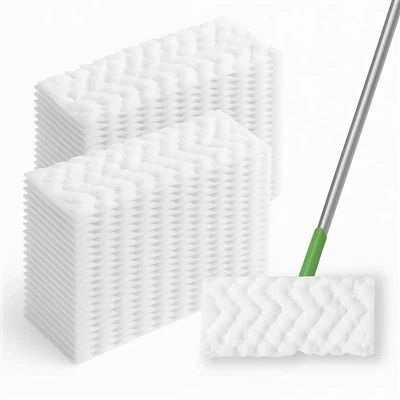
If you're not interested in making your own electrostatic mop pad, we also offer a wide range of high-quality Electrostatic Mop Pads. Our mop pads are made from the best materials and are designed to be highly effective at picking up dust and debris. We also offer Dry Sweeping Mop Pads and Dry Mop Refills to meet all your cleaning needs.
Contact Us for Purchase
If you're interested in purchasing our products, we'd love to hear from you. Whether you're a small business looking to stock up on cleaning supplies or a homeowner in need of a reliable mop pad, we can provide you with the products you need at competitive prices. Don't hesitate to reach out to us to discuss your requirements and get a quote. We're here to make your cleaning process easier and more efficient.
References
- "DIY Electrostatic Mop Pad Tutorial" - DIY Cleaning Blog
- "The Science of Electrostatic Cleaning" - Cleaning Science Journal
- "Microfiber Fabric Guide" - Fabric World Magazine