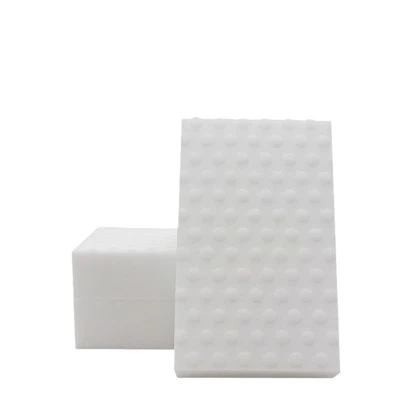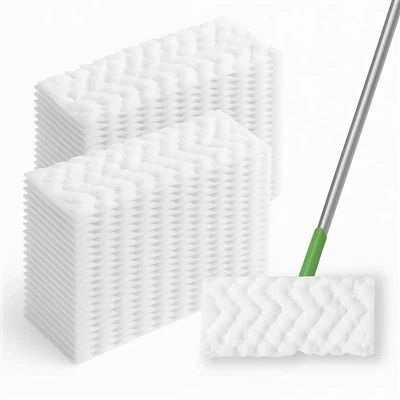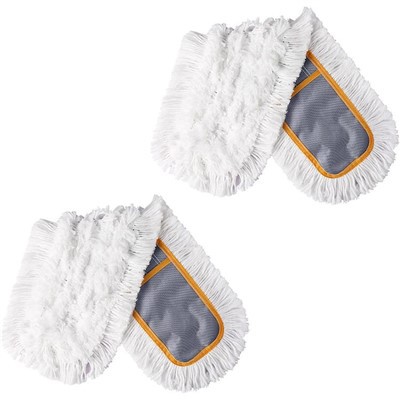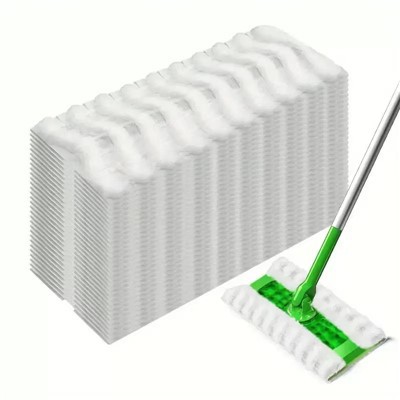

Cleaning a duster with soap is a simple yet essential process that can significantly extend the lifespan and enhance the performance of your dusters. As a dusters supplier, I understand the importance of maintaining these cleaning tools to ensure they remain effective in keeping your spaces clean. In this blog post, I'll guide you through the step-by-step process of cleaning a duster with soap, discuss the benefits of regular cleaning, and provide some tips to make the process even more efficient.
Why Clean Your Duster?
Before we dive into the cleaning process, let's understand why it's crucial to clean your duster regularly. Over time, dusters accumulate dust, dirt, and debris, which can reduce their effectiveness. A dirty duster may not pick up as much dust, and it can even spread dirt around instead of removing it. By cleaning your duster, you can:
- Improve Cleaning Performance: A clean duster can attract and hold more dust, making your cleaning tasks more efficient.
- Extend the Lifespan of Your Duster: Regular cleaning can prevent the buildup of dirt and grime, which can damage the fibers of the duster and reduce its durability.
- Maintain a Hygienic Environment: A clean duster helps to prevent the spread of dust, allergens, and bacteria, creating a healthier living or working space.
Step-by-Step Guide to Cleaning a Duster with Soap
Now that we understand the importance of cleaning your duster, let's walk through the process of cleaning it with soap. Here's a step-by-step guide to help you get started:
Step 1: Gather Your Supplies
Before you begin cleaning your duster, you'll need to gather the following supplies:
- Mild Soap: Choose a mild, gentle soap that won't damage the fibers of your duster. Avoid using harsh chemicals or detergents, as they can cause the fibers to break down or lose their static charge.
- Warm Water: Fill a sink or bucket with warm water. The water should be warm enough to dissolve the soap but not too hot to damage the duster.
- Soft Brush: A soft brush, such as a toothbrush or a cleaning brush, can help you remove stubborn dirt and debris from the duster.
- Towel: You'll need a clean towel to dry the duster after cleaning.
Step 2: Remove Loose Dust
Before you soak the duster in the soapy water, it's a good idea to remove any loose dust and debris. You can do this by shaking the duster outside or using a vacuum cleaner with a brush attachment to gently remove the dust.


Step 3: Prepare the Soapy Water
Add a small amount of mild soap to the warm water and stir it until the soap is dissolved. The amount of soap you use will depend on the size of the duster and the amount of dirt and debris it has accumulated. As a general rule, you should use about one teaspoon of soap per gallon of water.
Step 4: Soak the Duster
Place the duster in the soapy water and let it soak for about 10-15 minutes. This will allow the soap to penetrate the fibers of the duster and loosen the dirt and debris.
Step 5: Gently Agitate the Duster
After the duster has soaked for 10-15 minutes, gently agitate it in the soapy water. You can do this by using your hands or a soft brush to gently scrub the duster. Be careful not to scrub too hard, as this can damage the fibers of the duster.
Step 6: Rinse the Duster
Once you've agitated the duster, rinse it thoroughly under running water. Make sure to remove all of the soap from the duster. You can do this by running the duster under the faucet or by soaking it in a clean bucket of water.
Step 7: Squeeze Out the Excess Water
After you've rinsed the duster, gently squeeze out the excess water. Be careful not to wring the duster, as this can damage the fibers. You can use a towel to help absorb the excess water.
Step 8: Dry the Duster
Finally, hang the duster up to dry in a well-ventilated area. Avoid drying the duster in direct sunlight, as this can cause the fibers to fade or become brittle. You can also use a fan to help speed up the drying process.
Tips for Cleaning Your Duster
Here are some additional tips to help you clean your duster more effectively:
- Clean Your Duster Regularly: To keep your duster in good condition, it's important to clean it regularly. Depending on how often you use your duster, you should clean it every few weeks or months.
- Use the Right Soap: As mentioned earlier, it's important to use a mild, gentle soap that won't damage the fibers of your duster. Avoid using harsh chemicals or detergents, as they can cause the fibers to break down or lose their static charge.
- Be Gentle: When cleaning your duster, it's important to be gentle. Avoid scrubbing too hard or wringing the duster, as this can damage the fibers.
- Dry the Duster Completely: Before using your duster again, make sure it's completely dry. A damp duster can attract more dust and dirt, and it can also develop mold and mildew.
Types of Dusters and Their Cleaning Requirements
At our company, we offer a wide range of dusters to meet the needs of our customers. Here are some of the most popular types of dusters we offer and their cleaning requirements:
Ceiling Fan Duster
Ceiling fan dusters are designed to clean hard-to-reach areas, such as ceiling fans and light fixtures. These dusters typically have long handles and soft, fluffy heads that can easily pick up dust and debris. To clean a ceiling fan duster, follow the same steps as outlined above. However, you may need to use a soft brush to remove any stubborn dirt or debris from the head of the duster.
Short Handle Dusters
Short handle dusters are ideal for cleaning small, hard-to-reach areas, such as corners and crevices. These dusters typically have a short handle and a small, dense head that can easily pick up dust and debris. To clean a short handle duster, follow the same steps as outlined above. However, you may need to use a toothbrush or a small cleaning brush to remove any stubborn dirt or debris from the head of the duster.
Anti-Static Duster
Anti-static dusters are designed to attract and hold dust and debris using static electricity. These dusters typically have a special coating or material that helps to generate static electricity. To clean an anti-static duster, follow the same steps as outlined above. However, you may need to be more careful when handling the duster, as the static electricity can cause the dust and debris to stick to your hands.
Conclusion
Cleaning a duster with soap is a simple yet essential process that can significantly extend the lifespan and enhance the performance of your dusters. By following the steps outlined in this blog post, you can keep your dusters clean and effective, ensuring that your spaces remain clean and hygienic. If you have any questions or need further assistance, please don't hesitate to contact us. We're here to help you find the right dusters for your needs and provide you with the support and guidance you need to keep your spaces clean.
References
- "How to Clean a Duster." The Spruce, https://www.thespruce.com/how-to-clean-a-duster-4684318.
- "Cleaning Your Duster." Martha Stewart, https://www.marthastewart.com/270883/cleaning-your-duster.
- "How to Clean a Duster: A Step-by-Step Guide." Real Simple, https://www.realsimple.com/home-organizing/cleaning/clean-duster.