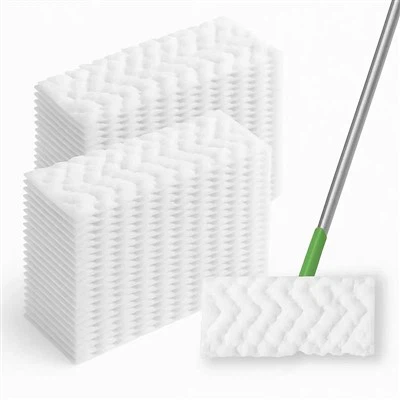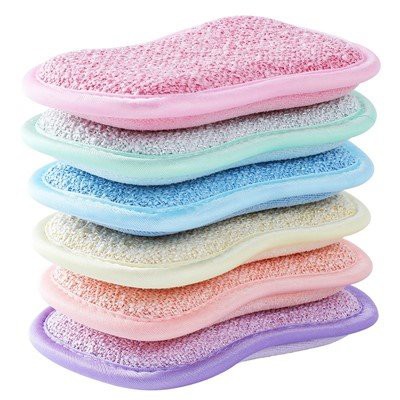

Hey there! As a cleaning sponge supplier, I've seen it all when it comes to these handy little tools. One of the most common questions I get asked is how to dry a cleaning sponge properly. It might seem like a simple task, but doing it right can make a huge difference in the lifespan and effectiveness of your sponge. So, let's dive in and explore the best ways to dry your cleaning sponges.
Why Proper Drying Matters
First off, why is it so important to dry your cleaning sponge properly? Well, a wet sponge is a breeding ground for bacteria and mold. When you leave a sponge damp, it creates the perfect environment for these unwanted guests to grow. Not only can this make your sponge smell bad, but it can also reduce its cleaning power over time. Plus, using a moldy sponge can spread germs around your home, which is definitely not what you want.
Another reason to dry your sponge properly is to extend its lifespan. Sponges that are constantly wet tend to break down faster, losing their shape and absorbency. By drying your sponge thoroughly after each use, you can keep it in good condition for longer, saving you money in the long run.


Step-by-Step Guide to Drying Your Cleaning Sponge
Now that we know why proper drying is important, let's go through the steps to dry your cleaning sponge effectively.
1. Wring Out the Sponge
The first step is to wring out as much water as possible from the sponge. You can do this by squeezing it firmly with your hands or using a sponge wringer if you have one. Make sure to get rid of all the excess water, as this will speed up the drying process.
2. Rinse the Sponge
After wringing out the sponge, give it a good rinse under running water. This will help remove any dirt, debris, or cleaning solution that might be trapped in the sponge. Make sure to rinse both sides of the sponge thoroughly.
3. Sanitize the Sponge
To kill any bacteria or mold that might be present in the sponge, you can sanitize it before drying. There are a few different ways to do this:
- Microwave Method: Place the wet sponge in the microwave and heat it on high for about one minute. Make sure the sponge is completely wet before microwaving it, as a dry sponge can catch fire. This method is quick and effective, but be careful when removing the sponge from the microwave, as it will be hot.
- Bleach Solution: Mix one part bleach with nine parts water in a container. Soak the sponge in the bleach solution for about five minutes, then rinse it thoroughly under running water. This method is also effective at killing bacteria and mold, but make sure to use gloves when handling the bleach solution.
- Vinegar Solution: Mix equal parts vinegar and water in a container. Soak the sponge in the vinegar solution for about 30 minutes, then rinse it thoroughly under running water. Vinegar is a natural disinfectant and can help remove odors from the sponge.
4. Dry the Sponge
Once you've wrung out, rinsed, and sanitized the sponge, it's time to dry it. There are a few different ways to do this:
- Air Drying: The simplest way to dry a sponge is to let it air dry. Place the sponge in a well-ventilated area, such as a windowsill or a drying rack. Make sure the sponge is spread out and not folded or bunched up, as this will help it dry faster. It's also a good idea to turn the sponge over every few hours to ensure that both sides dry evenly.
- Using a Dish Rack: If you have a dish rack, you can place the sponge on it to dry. The dish rack will allow air to circulate around the sponge, helping it dry faster. Make sure the sponge is not touching any other dishes or utensils, as this can prevent it from drying properly.
- Using a Hairdryer: If you need to dry the sponge quickly, you can use a hairdryer on a low heat setting. Hold the hairdryer about six inches away from the sponge and move it back and forth to ensure that the sponge dries evenly. Be careful not to overheat the sponge, as this can damage it.
Tips for Drying Different Types of Cleaning Sponges
Not all cleaning sponges are created equal, and different types of sponges may require different drying methods. Here are some tips for drying different types of cleaning sponges:
Double Sided Sponge
Double Sided Sponge are great for cleaning because they have two different sides - one for scrubbing and one for wiping. To dry a double sided sponge, follow the steps above and make sure to dry both sides of the sponge thoroughly. You can also use a sponge wringer to squeeze out the water from the sponge more effectively.
Magic Eraser
Magic Eraser are made of a special material that can remove tough stains and dirt. To dry a magic eraser, wring it out as much as possible and then let it air dry. Make sure to keep the magic eraser away from heat sources, as this can damage the material.
Non Scratch Scourer
Non Scratch Scourer are designed to clean without scratching surfaces. To dry a non scratch scourer, wring it out and then let it air dry. You can also use a dish rack to dry the scourer, as this will allow air to circulate around it.
Conclusion
Drying your cleaning sponge properly is an important part of maintaining its effectiveness and lifespan. By following the steps above and using the tips for drying different types of sponges, you can ensure that your sponges stay clean, fresh, and ready to use. If you have any questions or need more information about drying your cleaning sponges, feel free to reach out to me. I'm always happy to help!
If you're in the market for high-quality cleaning sponges, I'd love to talk to you about our products. We offer a wide range of cleaning sponges, including Double Sided Sponge, Magic Eraser, and Non Scratch Scourer. Contact us today to discuss your needs and find the perfect cleaning sponges for your home or business.
References
- "How to Clean and Sanitize Sponges." Real Simple.
- "The Best Way to Clean and Disinfect a Sponge." Good Housekeeping.
- "How to Keep Your Sponge Clean and Germ-Free." Martha Stewart.